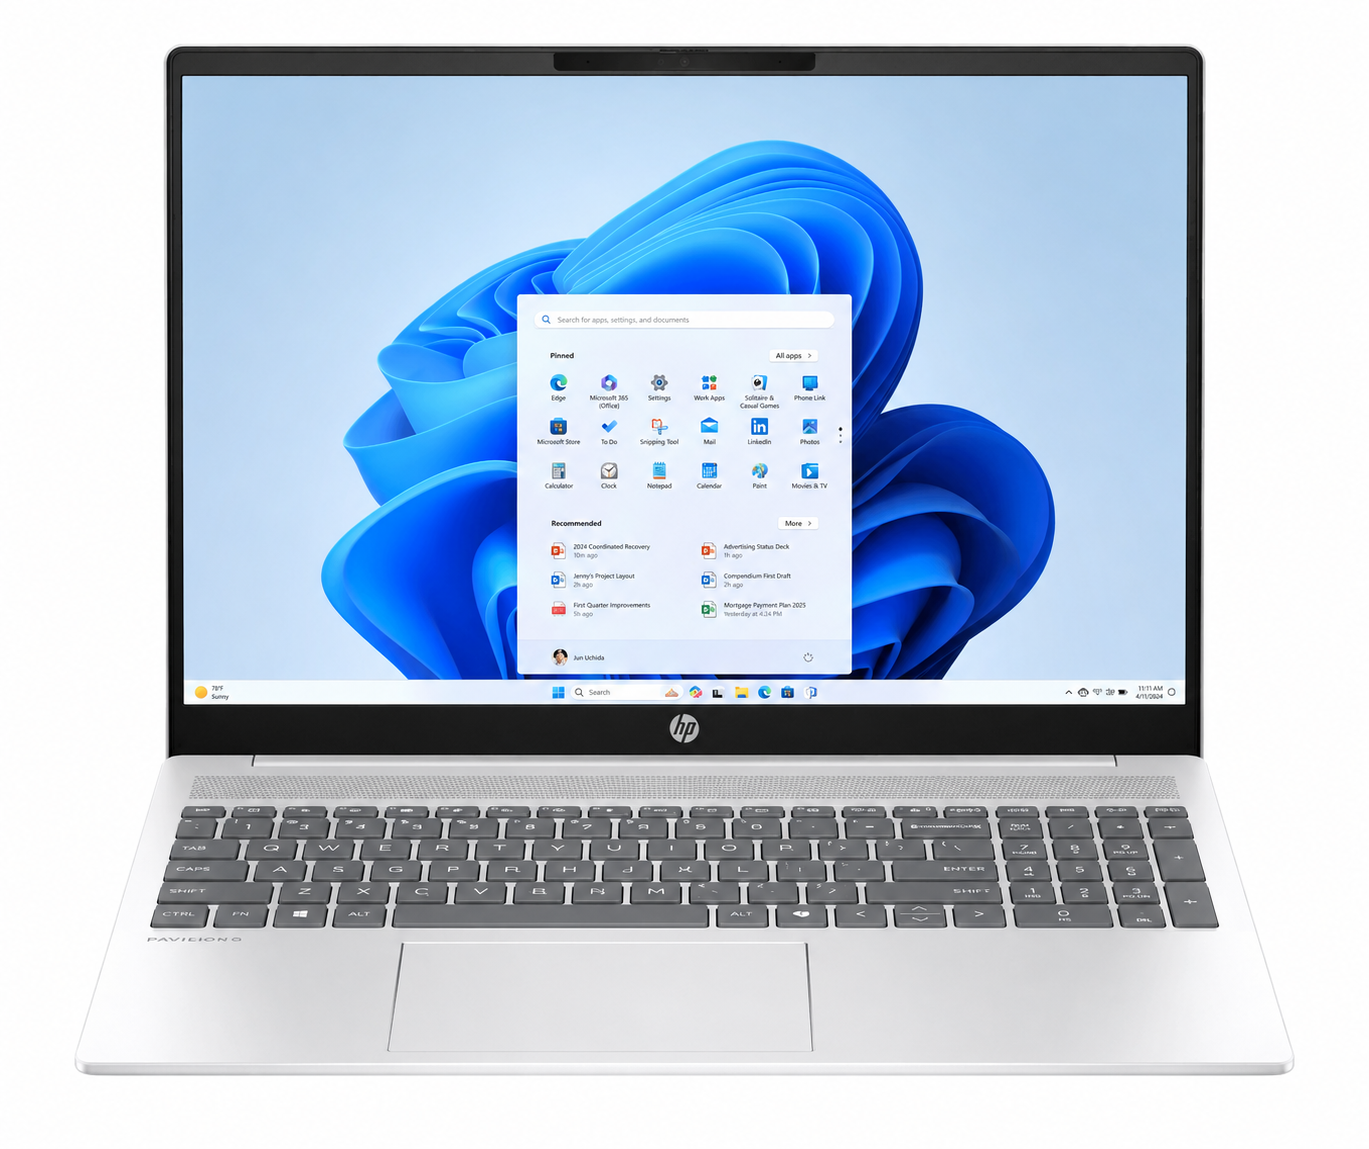
Whether you have just bought a new computer, are planning to install a game, upgrade your hardware, troubleshoot a problem, or simply want to know what is inside your PC, understanding your computer’s specifications is incredibly useful.
Your Windows PC contains many important components that work together every second. The processor performs calculations, memory stores temporary data, the graphics card renders images, and storage holds your files and programs. Knowing these specifications helps you understand your computer’s capabilities and limitations.
Fortunately, Windows makes it easy to view detailed information about your computer without opening the case or installing special software. From basic system information to detailed hardware reports, there are several built-in tools that reveal exactly what your PC is made of.
This guide explains how to check your PC specifications in Windows using the easiest and most reliable methods.
What Are PC Specifications?
PC specifications are the technical details that describe your computer’s hardware and software. These details tell you what components your computer has and how powerful they are.
Some of the most important specifications include your processor, installed memory (RAM), graphics card (GPU), storage capacity, motherboard, operating system version, and display information.
These specifications determine how well your computer performs different tasks. For example, a powerful processor can complete calculations more quickly, additional RAM allows more applications to run smoothly at the same time, and a dedicated graphics card improves gaming, video editing, and 3D rendering.
Understanding these specifications helps you make informed decisions when buying software, upgrading hardware, or diagnosing performance issues.
Check Basic PC Specifications Through Windows Settings
The easiest way to view your computer’s basic specifications is through the Windows Settings app.
Open Settings by pressing Windows + I on your keyboard. After the Settings window appears, select System and then open About.
This page provides an overview of your computer. You can see your device name, processor model, installed RAM, system type, Windows edition, version number, and operating system build.
For many everyday users, this page contains all the essential information needed to understand their computer.
It is especially useful when someone asks which processor you have or how much memory your PC contains.
View Detailed System Information
If you want a much deeper look into your computer, Windows includes a tool called System Information.
Press Windows + R, type msinfo32, and press Enter.
The System Information window displays an extensive overview of your PC.
Here you can find detailed information about your processor, motherboard, BIOS version, installed memory, storage devices, hardware resources, system model, secure boot status, virtualization support, and much more.
This tool is particularly valuable when troubleshooting hardware problems or preparing for software installations that require specific hardware features.
Because the information comes directly from Windows, it is generally accurate and reliable.
Find Processor Information
The processor, also called the CPU or Central Processing Unit, is often described as the brain of the computer. It performs billions of calculations every second and controls nearly every operation.
To view processor information, open Task Manager by pressing Ctrl + Shift + Esc.
Select the Performance tab and choose CPU.
This screen displays your processor’s name, current speed, number of cores, logical processors, cache size, and real-time usage.
You can even watch your processor working as graphs update continuously.
Modern processors automatically adjust their operating speed depending on workload, so the displayed speed may change from moment to moment.
Check Installed RAM
Random Access Memory, commonly called RAM, temporarily stores data that your computer actively uses.
The more RAM your system has, the more applications it can handle simultaneously without slowing down.
You can view installed memory from the About page in Windows Settings or through Task Manager.
In Task Manager’s Performance section, select Memory.
Here you can see the total installed RAM, current usage, available memory, memory speed, memory type, and the number of memory slots being used.
Watching memory usage in real time can help you understand whether your computer needs additional RAM.
If memory usage remains consistently high while working, upgrading RAM may improve overall responsiveness.
Check Your Graphics Card
The graphics processing unit, or GPU, is responsible for rendering images, videos, animations, and games.
To see which graphics card your computer uses, open Task Manager and select the Performance tab.
Choose GPU from the left panel.
Windows displays your graphics card model, dedicated video memory, shared memory, graphics utilization, driver version, and temperature on many modern systems.
You can also use Device Manager by pressing Windows + X and selecting it from the menu.
Expand the Display adapters section to see your installed graphics hardware.
If your computer has both integrated and dedicated graphics, both devices may appear here.
View Storage Information
Your storage drive holds Windows, applications, documents, photos, videos, and everything else saved on your computer.
To check storage information, open Settings, select System, and then choose Storage.
Windows shows the total storage capacity, available free space, and how much storage different categories occupy.
This breakdown makes it easy to identify large files or applications consuming significant disk space.
If your storage is nearly full, freeing space can noticeably improve system performance.
Check Windows Version
Knowing your Windows version is important because software compatibility often depends on it.
Open Settings, select System, then About.
Here you can find your Windows edition, such as Windows 10 Home or Windows 11 Pro, along with the version number and operating system build.
Keeping Windows updated ensures you receive security improvements, performance enhancements, and new features.
Use DirectX Diagnostic Tool
Windows includes another useful utility called the DirectX Diagnostic Tool, commonly known as DxDiag.
Press Windows + R, type dxdiag, and press Enter.
This tool provides detailed information about your processor, memory, graphics card, display, sound devices, and installed DirectX version.
Gamers often use DxDiag because many games require certain DirectX features or graphics capabilities.
It also helps technical support teams diagnose graphics-related problems.
Check Device Manager
Device Manager provides an organized view of every hardware device connected to your computer.
Open it by pressing Windows + X and selecting Device Manager.
Here you can expand categories such as processors, storage drives, monitors, network adapters, Bluetooth devices, keyboards, cameras, printers, and display adapters.
If Windows detects a hardware problem, Device Manager often displays a warning icon next to the affected device.
This makes it one of the first places to check when troubleshooting hardware issues.
View Hardware Performance in Real Time
Task Manager offers more than just hardware information.
Its Performance section lets you monitor how your computer is performing in real time.
You can watch CPU usage rise while editing videos, memory usage increase as more applications open, disk activity spike during file transfers, and network usage change while downloading files.
These live performance graphs help you understand which hardware component is under the greatest load.
For example, if your processor is consistently running near 100 percent while memory remains mostly unused, the CPU may be the performance bottleneck.
Conversely, if memory usage is almost full, additional RAM could improve multitasking.
Find Your Computer Model
If you own a laptop or a prebuilt desktop, Windows can identify the exact model.
Open System Information by typing msinfo32 into the Run dialog.
Look for System Manufacturer and System Model.
This information is useful when downloading drivers, requesting technical support, or searching for compatible hardware upgrades.
Manufacturers often release different versions of similar computers, so knowing the exact model ensures you find the correct information.
Check BIOS or UEFI Information
The BIOS or UEFI firmware starts your computer before Windows loads.
Its version is important because manufacturers sometimes release updates that improve compatibility, security, or system stability.
Open System Information and locate the BIOS Version/Date entry.
You can also see whether your computer uses traditional BIOS or modern UEFI firmware.
Most modern Windows computers use UEFI, which supports faster startup times, larger storage drives, and enhanced security features such as Secure Boot.
Use Command Prompt to View Specifications
Windows also allows you to retrieve system information through Command Prompt.
Open Command Prompt and enter the command:
systeminfo
After a few moments, Windows displays a detailed report containing your computer name, operating system version, processor, installed memory, BIOS information, network configuration, and much more.
This method is especially useful for advanced users or remote troubleshooting.
Use Windows PowerShell
PowerShell provides another powerful way to inspect your computer.
It can display detailed hardware information through built-in commands.
System administrators frequently use PowerShell because it can retrieve hardware details, automate reports, and manage multiple computers efficiently.
Although PowerShell may seem intimidating at first, it is simply another tool that communicates directly with Windows.
Third-Party Tools for More Detailed Information
While Windows includes excellent built-in utilities, some users need even more detailed hardware information.
Programs such as CPU-Z, GPU-Z, HWiNFO, and Speccy can provide extensive technical details about processors, graphics cards, motherboards, memory timings, storage devices, temperatures, voltages, and sensors.
These tools are commonly used by enthusiasts, reviewers, and technicians who require highly detailed hardware diagnostics.
For most everyday users, however, the built-in Windows tools are more than sufficient.
Why Checking PC Specifications Is Important
Knowing your PC specifications can save time, money, and frustration.
Before installing a new game or professional application, you can verify whether your computer meets the minimum or recommended system requirements.
If your computer feels slow, checking CPU, memory, storage, and GPU usage can help identify the cause.
Understanding your hardware also makes future upgrades easier. You can determine whether adding more RAM, installing a larger SSD, or upgrading your graphics card is worthwhile.
Technical support representatives often ask for your computer’s specifications because they provide valuable clues when diagnosing software or hardware problems.
Common Mistakes to Avoid
Many people assume that a computer’s appearance reflects its performance, but this is not always true. Two laptops that look nearly identical may contain very different processors, memory configurations, or graphics hardware.
Another common mistake is confusing storage with RAM. Storage permanently saves files, while RAM temporarily stores data your computer is actively using. They perform different functions and are measured separately.
It is also important to distinguish between processor speed and overall performance. A modern processor with a lower clock speed may outperform an older processor with a higher clock speed because of architectural improvements, additional cores, and better efficiency.
Finally, remember that your computer’s performance depends on the combination of all its components rather than a single specification.
Conclusion
Checking your PC specifications in Windows is easier than many people realize. Whether you simply want to know how much RAM your computer has, identify your graphics card, verify your processor model, or inspect detailed hardware information, Windows provides several reliable built-in tools that make the process straightforward.
The Settings app offers a quick overview, System Information delivers comprehensive technical details, Task Manager provides live performance monitoring, Device Manager lists installed hardware, and utilities like DxDiag reveal graphics and multimedia information. Together, these tools give you a complete picture of your computer without requiring additional software.
Understanding your PC’s specifications is more than a technical exercise—it empowers you to make smarter decisions about software compatibility, hardware upgrades, troubleshooting, and overall system performance. Whether you are a student, gamer, professional, or everyday computer user, knowing what powers your Windows PC helps you get the most from it and prepares you for whatever tasks come next.